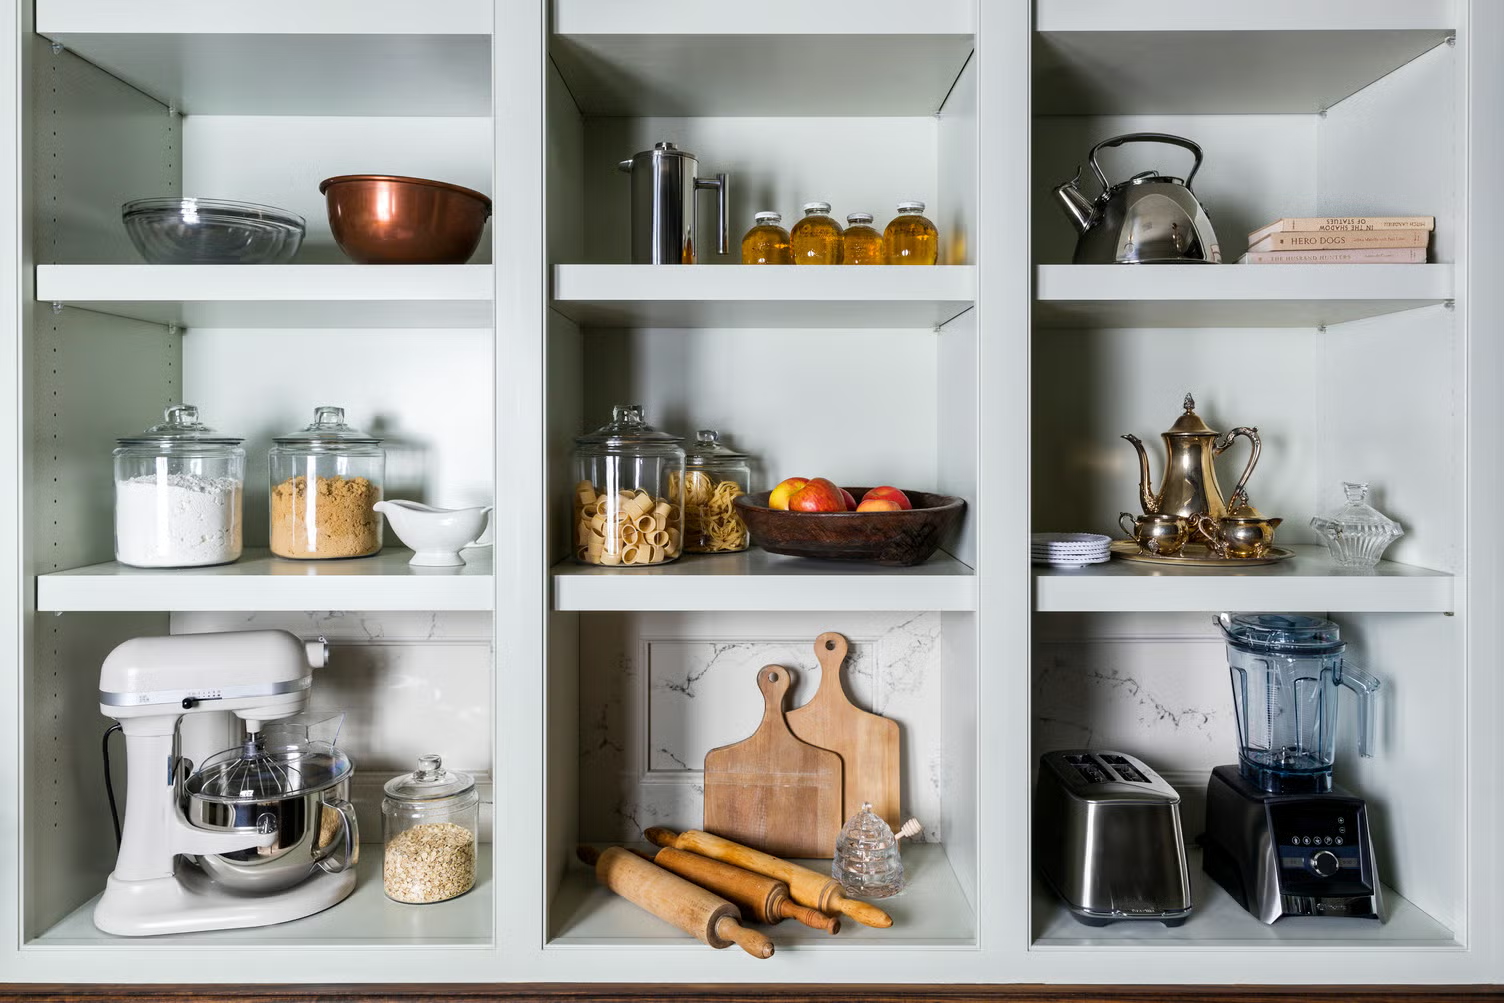
20 Pantry Organization Ideas for New Homeowners That Save Time

✔ Written & fact-checked by Sophie — last reviewed June 30, 2026
Why Your New Pantry Feels Overwhelming (And How to Fix It)
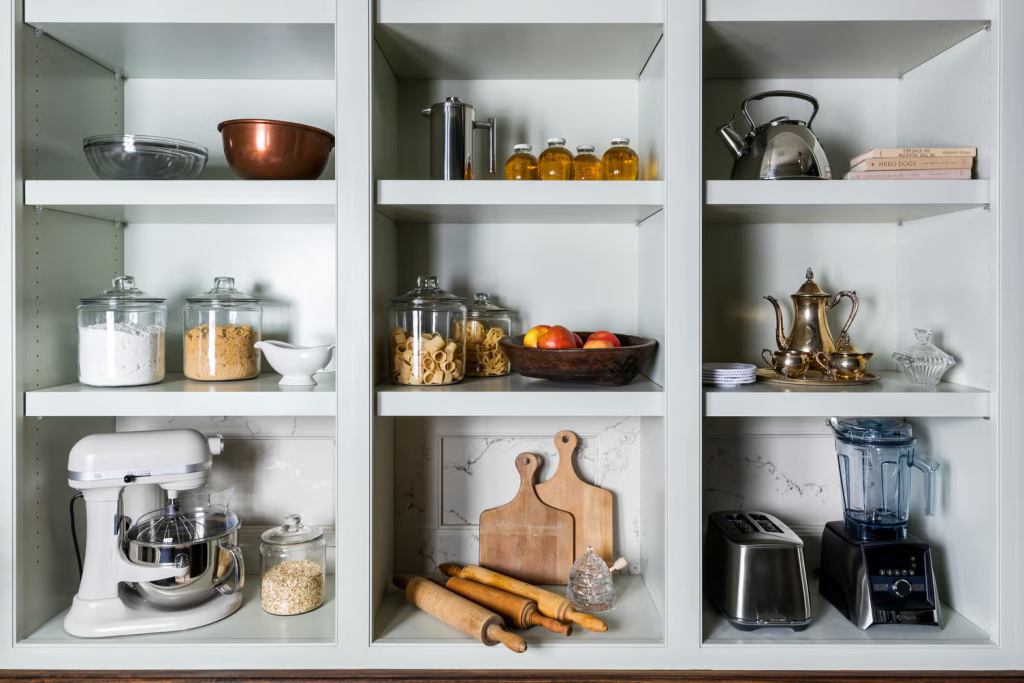
You just moved in. The boxes are everywhere. And somewhere in that back corner of your kitchen, there’s a pantry that looked great on the house tour but now feels like a black hole of half-open bags and expired cans you didn’t know you had.
This happens to almost every new homeowner. You’re not doing something wrong. You just haven’t set up a system yet.
Here’s the thing that might surprise you: a 2026 Fixr report found that 81% of design experts rank insufficient kitchen storage as one of the biggest turn-offs for homebuyers. That means the pantry you’re ignoring right now is actually one of the most valuable spaces in your house.
If you’re wondering how to organize a pantry step by step, you’re in the right place. These 20 pantry organization ideas for new homeowners work for small closets, builder-basic cabinets, and awkward layouts. No full remodel required. No perfection needed. Just real solutions that save you time every single day.
Professional organizer Emily Santos puts it simply: “If you want to know how a professional organizer starts a pantry organization project, the answer is always the same: we take everything out.”
That’s where we’ll start.
1. Start with a Full Pantry Reset (Before You Buy Anything)
Empty the entire pantry. Put everything on the kitchen table or counters. Every single item.
Now toss what’s expired. Santos calls this a “clean slate” approach, and she’s right. You can’t organize what you don’t know you have. As you pull things out, group similar items together. Notice patterns. Do you have six half-empty bags of rice? Three bottles of soy sauce you forgot about? Make a note. That information tells you what to buy less of next time.
Wipe down the shelves while they’re empty. Then, before you put anything back, resist the urge to just reload everything where it was. This is your chance to think about where things actually belong based on how you cook and eat, not where the previous owner left them.
2. Choose One Container System (Not Three)
This is where most people go wrong. They buy one set of jars, then another set of bins, then some random baskets. Now nothing stacks together and the lids don’t match.
Pick one system and stick with it. Rectangular, airtight containers work best because they stack cleanly and use every inch of shelf space. Round containers waste corner space.
The decanting trend is huge right now, and it’s not just for looks. According to USDA data, white flour stored in an airtight container lasts about a year. Leave it in the original bag and that drops to around eight months. You’re not being extra. You’re keeping food fresh.
The Rubbermaid Brilliance pantry set runs about $40 to $50 for eight pieces. They’re clear, stackable, and actually airtight. That’s the kind of set that makes a real difference.
3. Zone Your Pantry by How You Live (Not Just by Category)
Forget the old advice about grouping all canned goods together and all baking supplies together. That’s not how you actually cook.
Shea McGee, founder of Studio McGee, says it well: “By grouping items by function, the kitchen flows effortlessly, and everything feels intentional and easy to find.”
Think in zones instead. Your morning coffee zone might hold mugs, sweetener, and a few breakfast staples all in one spot. Your kids’ snack zone goes low where they can reach it. Baking stays together if you bake a lot, but maybe it shares a shelf with your standing mixer.
Designer Cathleen Gruver, whose work is backed by 2026 Houzz data, asks clients specific questions before zoning a pantry. Do you buy in bulk? Do you entertain often? Are there young children who need accessible snacks? The answers change where everything goes.
4. Adjust Shelves to Your Containers (Not the Other Way Around)
Here’s a mistake that shows up in almost every new home: every shelf is the same height and depth. That might look fine on a builder’s floor plan, but it’s terrible for actual use.
Small jars get lost on deep shelves. Short containers waste space under tall shelves. You end up stacking things on top of each other just to see what’s in the back.
Katie McMenamin Sabo, an organization expert who cofounded Pixies Did It, explains the payoff: “Organizing kitchen cabinets by adjusting the shelves and using shelf risers takes patience, but being able to grab a dinner plate without moving the salad plates makes life so much easier.”
Set one shelf height for tall bottles like olive oil and vinegar. Set another for short jars. Use shelf risers to double your visible space on deep shelves. The goal is to see every item from the front without moving anything.
5. Add Pull-Outs to Lower Cabinets Without Replacing Them
The biggest shift in pantry storage this year is moving from passive shelves to what designers call “active storage.” That means pull-outs that bring everything to you instead of making you reach into dark corners.
You don’t need new cabinets for this. A 14-inch pull-out organizer like the simplehuman version (around $70 to $100 from The Container Store) can turn a dead lower cabinet into usable space. The full-extension design lets you see every item, even in the very back.
Vertical pull-out columns are another option. These tall, narrow slides work especially well in the gap between your fridge and the wall. They hold spices, oils, and small items that would otherwise clutter your main shelves.
This upgrade pays for itself in time saved. No more crouching on the floor with a flashlight trying to find that one jar of sauce.
6. Turn the Back of the Door into Real Storage
Searches for small pantry organization ideas have surged this year, and for good reason. Most new homes don’t come with walk-in pantries. You’re probably working with a closet or a cabinet.
The door is wasted space until you use it. An over-door rack like the Delamu adjustable model (around $30 to $45) holds spices, oils, wraps, and small snacks without any drilling. The adjustable shelves mean you can fit tall bottles next to short jars.
This is one of the best pantry organization ideas for small spaces because it adds storage without taking up any shelf real estate. The back of your pantry door can hold more than you’d think.
If your pantry doesn’t have a door, consider adding one. Even a simple tension rod with an S-hook system can hold lightweight items.
7. Use Lazy Susans for Deep or Corner Shelves
Deep shelves are a trap. You put something in the back, forget it exists, and buy it again three weeks later.
A turntable fixes this. Spin it once and everything comes to you. No reaching, no rearranging, no forgotten items hiding in corners.
This works especially well for oils, vinegars, and condiments. It also solves the corner cabinet problem if your pantry has one of those awkward L-shaped spaces where two shelves meet at a dead angle.
Look for a lazy Susan with a small lip around the edge so bottles don’t slide off when you spin. A non-slip surface helps too. You don’t need anything fancy. Just something that turns smoothly and holds what you actually use.
8. Decant Only What You Use Regularly (A Sanity-Saver)
Not everything needs to go into a matching container. That’s a fast path to burnout and wasted money.
Decant the staples you reach for constantly. Flour, sugar, rice, pasta, cereal, oats. The things you scoop from every day or every week. Leave specialty items in their original packaging until you actually use them.
Keep one bin or basket for open bags that don’t warrant a container. That half-used bag of chocolate chips from last month? It can live there. The packet of instant yeast you use twice a year? Same spot.
This approach keeps your pantry looking orderly without requiring you to buy fifty containers on day one. Start with the essentials. Add more as you figure out what you actually reach for.
9. Keep Snacks Kid- and Partner-Friendly
If you live with other people, your pantry system has to work for them too. That means low, easy-access storage for kids and no-fuss containers for anyone who’s not interested in your organizational scheme.
Put kid snacks in lower drawers or bins they can reach without help. Use containers with simple lids, not complicated latches. Consider a “use this first” basket for items that are close to expiring or that you want to move through.
For your partner or roommates, keep the everyday items at eye level where they’re obvious. Don’t hide the coffee in a high cabinet or put the cereal behind three other things. If people can’t find what they need easily, they’ll just pull things out and leave them on the counter.
10. Build a Mini Coffee or Beverage Station Inside the Pantry
Built-in coffee stations are one of the biggest pantry trends this year, and you don’t need a custom renovation to get one.
Dedicate one shelf or section to your morning routine. Coffee maker or kettle, mugs on a small hook, sweetener, creamer, whatever you use daily. If you can add a small tray underneath, it catches drips and keeps the shelf clean.
This works for tea drinkers too. And if you’re into sparkling water or sports drinks, a beverage zone keeps those bottles from taking over your main shelves.
The goal is to have your morning routine contained in one spot. No walking back and forth three times before you’re awake enough to function.
11. Add Task Lighting (So You Stop Squinting)
Dark pantries are a design failure that keeps showing up in new homes. You open the door and can barely see what’s on the middle shelves, let alone the back corners.
Designers are pushing back on this in 2026. Good pantry lighting means vertical illumination, not just one bulb in the center of the ceiling. LED strip lights under each shelf, a plug-in puck light, or even battery-operated motion-sensor lights make a huge difference.
This is a weekend project that costs under $30 if you go with battery options. You don’t need an electrician. Just stick the lights under the front edge of each shelf and suddenly you can actually read the labels on the back row.
12. Group Multiples Like a Grocery Store (No Bins Required)
Here’s a trick that costs nothing and looks surprisingly put-together: line up identical items in rows, just like a store display.
All your cans of tomatoes together. All your pasta boxes in a row. All your jars of the same sauce next to each other. You don’t need bins or labels for this. The visual repetition creates order on its own.
This works because your brain registers patterns. A row of six identical cans reads as “organized” even without any special storage system. It also helps you see at a glance what you’re running low on.
Save this approach for items you buy in multiples. Specialty items or one-offs can go in their own spot.
13. Use Versatile Drawers for Snacks, Linens, or Serving Pieces
Drawers are the most flexible storage option in any pantry. They hold snacks, they hold napkins and paper towels, they hold serving platters that don’t fit on shelves.
If your pantry came with drawers, use them for the things that don’t stack well. Flat items like cutting boards and baking sheets. Things that tip over easily like bags of chips. Small items that would get lost on deep shelves.
No drawers? You can add them. Roll-out drawer units fit inside many standard pantry cabinets and turn wasted vertical space into something you can actually use.
The key is to avoid overfilling. A drawer that’s packed so tight you can’t open it is worse than no drawer at all.
14. Add a “Hosting” Section (Even in a Small Pantry)
One of the quieter trends this year is the dedicated hosting section. It sounds fancy, but it just means setting aside one shelf or basket for the things you use when people come over.
Platters, serving bowls, extra napkins, the good glasses, party snacks. Instead of scattering these through your kitchen, give them a home in the pantry where they’re out of the way but easy to grab.
This works even in tiny pantries. One basket on a high shelf can hold napkins and candles. One section of a lower shelf can hold a stack of serving plates. You don’t need a whole butler’s pantry to make this work.
The point is that when you have people over, you’re not digging through your everyday dishes trying to find the nice stuff
15. Use Clear Doors or Glass Inserts to See What You Have
If your pantry has solid doors, you’re opening and closing them constantly just to check what you need. That’s wasted time and wasted energy.
Glass panels or clear door inserts let you see inside at a glance. You can spot the pasta from across the kitchen. You know before you open the door whether you need to add something to your grocery list.
If you rent or don’t want to replace your doors, removable frosted film is an option. Or just take the doors off entirely if your pantry is tidy enough. Open shelving for a pantry works when it’s contained and organized, not when it’s a free-for-all.
The goal is visibility. You should be able to take inventory without walking over and opening anything.
16. Label Simply and Broadly
Professional organizers used to recommend labeling every single container with precise contents. That approach is fading. It’s too rigid and too much upkeep.
Now the advice is to label broadly. “Breakfast.” “Grains.” “Snacks.” “Baking.” “Canned.” That gives you structure without locking you into keeping the same item in the same spot forever.
Use a basic label maker or erasable tags. Don’t overthink the font or the style. The label just needs to be readable from arm’s length.
Skip the labels entirely on clear containers where you can see what’s inside. Save them for opaque bins or baskets where the contents aren’t obvious.
17. Use the “Costco Test” (Leave Buffer Space)
Professional organizer Emily Santos has a rule she calls the “Costco test.” Always leave extra space in your pantry for big grocery runs. If every shelf is packed to the edges, you have nowhere to put the bulk buys that save you money.
Keep one shelf or one section intentionally empty. It might feel wasteful at first. But the day you come home with twenty cans of tomatoes on sale or a giant bag of rice, you’ll be glad it’s there.
This also prevents the avalanche effect. When shelves are overfull, pulling out one item makes three others fall over. Then you’re shoving things back in randomly and your system falls apart.
Buffer space is maintenance space. It’s the difference between a pantry that stays organized and one that unravels every two weeks.
18. Make It Easy to Put Things Away
The best pantry system in the world fails if it’s hard to maintain. If putting something away takes three steps or two hands, it’s not going to happen.
Place everyday items between waist and shoulder height. That’s the easiest zone to reach without bending or stretching. Use open bins for high-frequency items so you can toss things in quickly. Avoid containers with complicated latches or lids that require two hands to open.
Think about the return trip. When you’re unloading groceries or putting away dishes, you want to drop things in their spot and move on. If the system fights you, you’ll start leaving things on the counter instead.
Easy to use means easy to maintain. That’s the whole game.
19. Upgrade the Look Without a Remodel
Your pantry doesn’t have to look like a storage closet. This year designers are treating pantries like real rooms, with paint, wallpaper, and nice light fixtures.
You can do this on a budget. A quart of paint in a color you love transforms the back wall. Removable wallpaper works if you rent. Even swapping out a basic light fixture for something prettier changes the whole feel.
This isn’t about making it Instagram-perfect. It’s about making the space feel good to be in. You open that door multiple times a day. It should feel like part of your home, not an afterthought.
Start with paint. It’s the cheapest, fastest way to make a builder-basic pantry feel like yours.
20. Do a Monthly Mini-Edit So It Stays Organized
Jenna Haefelin, founder of SPIFF, recommends doing an edit once a month. Not a full overhaul. Just a quick pass to catch what’s slipping.
Toss anything that expired in the last thirty days. Put back items that migrated out of their zone. Check if your “use this first” basket actually got used. Notice if one shelf is getting crowded while another sits empty.
This takes maybe fifteen minutes. But it prevents the slow drift back to chaos that happens in every pantry without maintenance.
Think of it like cleaning out your email inbox. A little regular attention keeps it manageable. Ignore it for months and you’ve got a disaster on your hands.
Schedule it. First Sunday of the month. Last Friday. Whatever works. Just make it a habit.
Keep Your Pantry Working Long After Move-In
These 20 pantry organization ideas for new homeowners aren’t about creating a picture-perfect space. They’re about building a system that works when you’re tired, when you’re in a hurry, when you’ve got a kid tugging on your sleeve.
The small pantry organization approach matters here because most new homes don’t give you a walk-in closet for food. You’re working with what you have. Door racks, lazy susans, and smart zoning make tight spaces functional.
Here’s your maintenance rule: do a quick check every week when you grocery shop. Toss anything expired. Move items back to their zone if they’ve drifted. Do a slightly deeper edit once a month. And every few months, step back and ask if your zones still match how you’re actually cooking.
A pantry that works keeps your whole kitchen calmer. It saves you money because you stop buying duplicates. And if you ever sell, that organized storage is something buyers will notice.
Start with the reset. Pick one container system. Zone by how you live. The rest falls into place from there.