7-Steps for How to Decorate a New House From Scratch Step by Step

✔ Written & fact-checked by Sophie — last reviewed June 26, 2026
You Just Got the Keys. Now What?
You’re standing in the middle of your new living room, and it’s so empty your footsteps echo. You’ve got a Pinterest board with four hundred pins, a key in your hand, and absolutely no idea where to start. If you’re looking for someone to walk you through how to decorate a new house from scratch step by step without wasting money or losing your mind, you are in exactly the right place.
Maybe you just moved from a rented apartment where beige walls were non-negotiable and furniture just kind of happened. Now you own this whole house, and the blankness feels less like freedom and more like a panic attack. You want it to look like you, not like a furniture showroom, but you also don’t want to live in an echo chamber for six months while you figure things out.
I’m going to give you a simple seven-step plan. Think of it as your first home decorating checklist, mapped out in the order that actually works. No fluff. No “just add a pop of color.” Just a real sequence that moves you from measuring to that first calm evening in a room that finally feels done. By the end, you’ll have a room-by-room decorating sequence that stops the paralysis and lets you build a home you love, one deliberate choice at a time.
Step 1: Measure Every Inch and Build a Digital Floor Plan
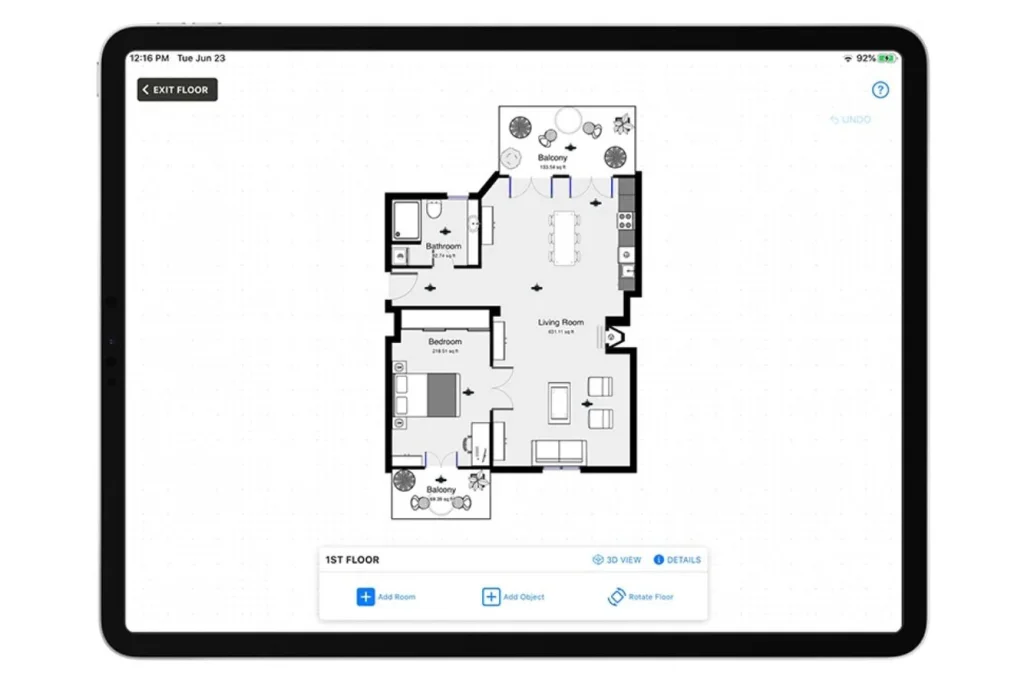
Before you buy a single throw pillow, you have to know what actually fits. This is the step nobody posts on Instagram, but skipping it is the number one reason new homeowners end up returning sofas that block the walkway or dining tables that seat four in a room built for ten.
Start by sketching each room’s shape on paper. Nothing fancy. Then grab a 25-foot tape measure and write down every wall length, window placement, doorway opening, and ceiling height. Mark where the outlets are and which way the doors swing. You’ll be shocked how many furniture layouts die the moment you realize a door can’t open past the arm of a chair.
Next, put that sketch into a free app like MagicPlan or RoomSketcher. You just point your phone camera at the corners of the room, and it builds a to-scale floor plan for you. Drop in dummy furniture blocks to test walkways. Leave at least thirty inches for main traffic paths and eighteen inches between a coffee table and sofa.
I hear from so many readers who ordered a beautiful sectional based on an online photo, waited twelve weeks for delivery, and then discovered it jutted halfway across a doorway. That’s an expensive, heartbreaking mistake that a to-scale plan prevents completely. Designers keep repeating this for a reason: decorate from a plan, not from a wishlist. A proper floor plan is the real first page of any first home decorating checklist, even if it’s not glamorous.
Step 2: Choose a Whole-House Color and Material Foundation
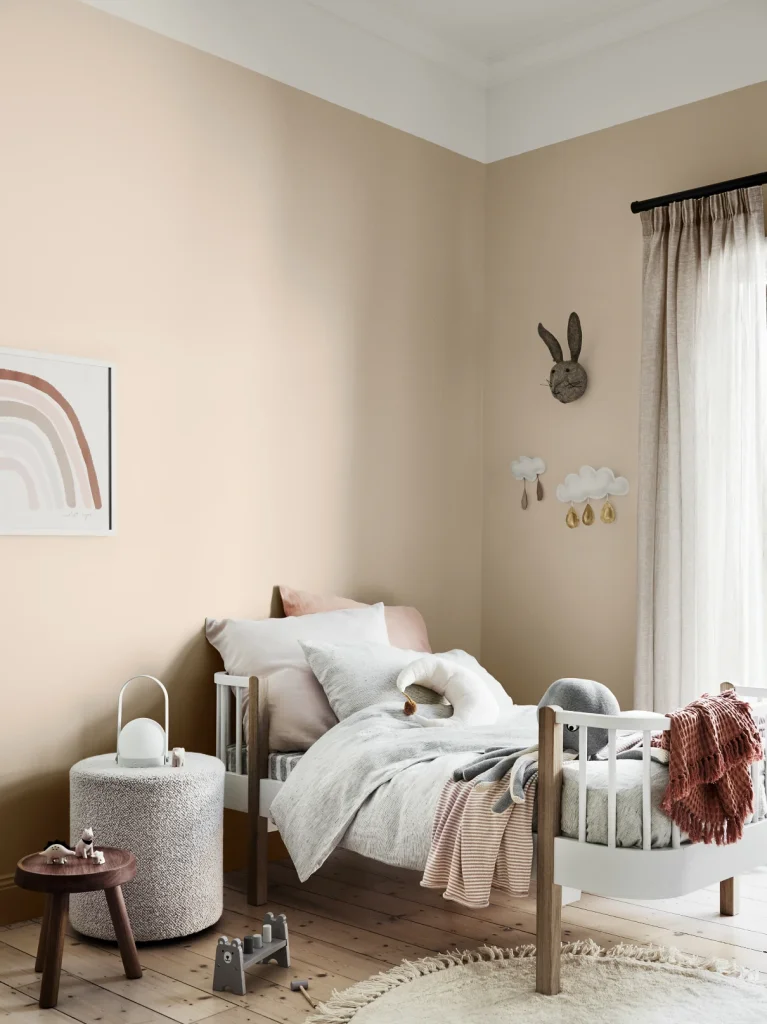
Now that you know your dimensions, you need a color thread that ties every room together. In 2026, the whole neutral game has shifted. Cool grays, the ones that made a new build feel like a refrigerator, are out. What’s in are brown-based neutrals, clay, sand, taupe, and rich chocolate. Sherwin-Williams’ 2026 Colormix Forecast called this shift months ago, and it’s everywhere now.
Pick one warm beige or greige with brown undertones as your main wall color for the open areas. Test sample pots on multiple walls and watch how the color changes from morning to evening. Choose one metal finish, maybe brushed brass or aged bronze, and repeat it in door handles, light fixtures, and cabinet hardware across rooms. Then select one wood tone, perhaps white oak or walnut, to anchor your floors and larger furniture pieces. This doesn’t mean every piece of wood has to match perfectly. But if you have three competing wood tones in one open sightline, it starts to feel chaotic fast.
For smaller rooms like a powder room or a study, 2026 is all about color drenching. That means painting the walls, ceiling, trim, and even the radiator in the same deep hue, think burgundy, olive, or a moody blue. House Beautiful’s 2026 Whole-Home Color Report highlighted how this trick makes a boxy new-build room feel wrapped and finished instantly. You get a punch of personality without painting a random accent wall and hoping for the best.
Lock in your neutral base and your metal and wood anchors now. The rest of your decorating decisions will orbit around this foundation, and you will avoid the chaos of buying a gorgeous emerald-green velvet sofa that fights with the beige you painted two rooms later.
Step 3: Start with a Quick Win Small Room
Here’s the surprising thing most people get wrong. You do not start with the living room or the primary bedroom. You start with a small, self-contained space you pass through multiple times a day. A powder room, an entryway, even the laundry room.
Designer Emily Henderson talked about this in her YouTube series “Starting From Scratch.” She showed that finishing a tiny powder room first gives you a daily hit of joy. It tests your color confidence, your DIY skills, and your material choices on a small, low-stakes canvas. If the bold wallpaper you picked for that little half bath makes you smile every time you walk past it, you know you’re on the right track. If not, you’ve only spent a couple hundred dollars and a weekend, not thousands and months.
Shea McGee of Studio McGee said it perfectly in an interview on The Everygirl podcast: “Start with the room you’ll actually use first, not the one you think you ‘should’ decorate. Quick wins create momentum and stop you from freezing up.” That momentum is everything when you’re decorating from scratch on a budget and every decision feels huge.
For a powder room, allocate a firm budget of four hundred to eight hundred dollars. Paint the walls or add removable wallpaper, swap the mirror for something with character, change the faucet if you can, and hang a small piece of art you love. Give yourself a two-week deadline. A finished little jewel-box room in the middle of a still-empty house is a psychological power move. It proves you can do this, and it gives you somewhere beautiful to escape to while you tackle the bigger zones.
Step 4: Ground the Most-Used Room with Soft Goods First
You are probably itching to buy a sofa. I get it. But hold that thought.
Designer Justina Blakeney of Jungalow said during an Instagram Live house tour, “In a new build, rugs and window treatments should come before your sofa. They ground the room visually and fix the echo problem instantly.” She’s right. An empty room with bare floors and naked windows sounds like a gymnasium. A rug and layered drapes swallow the echo and start to make the space feel like a room before a single piece of big furniture arrives.
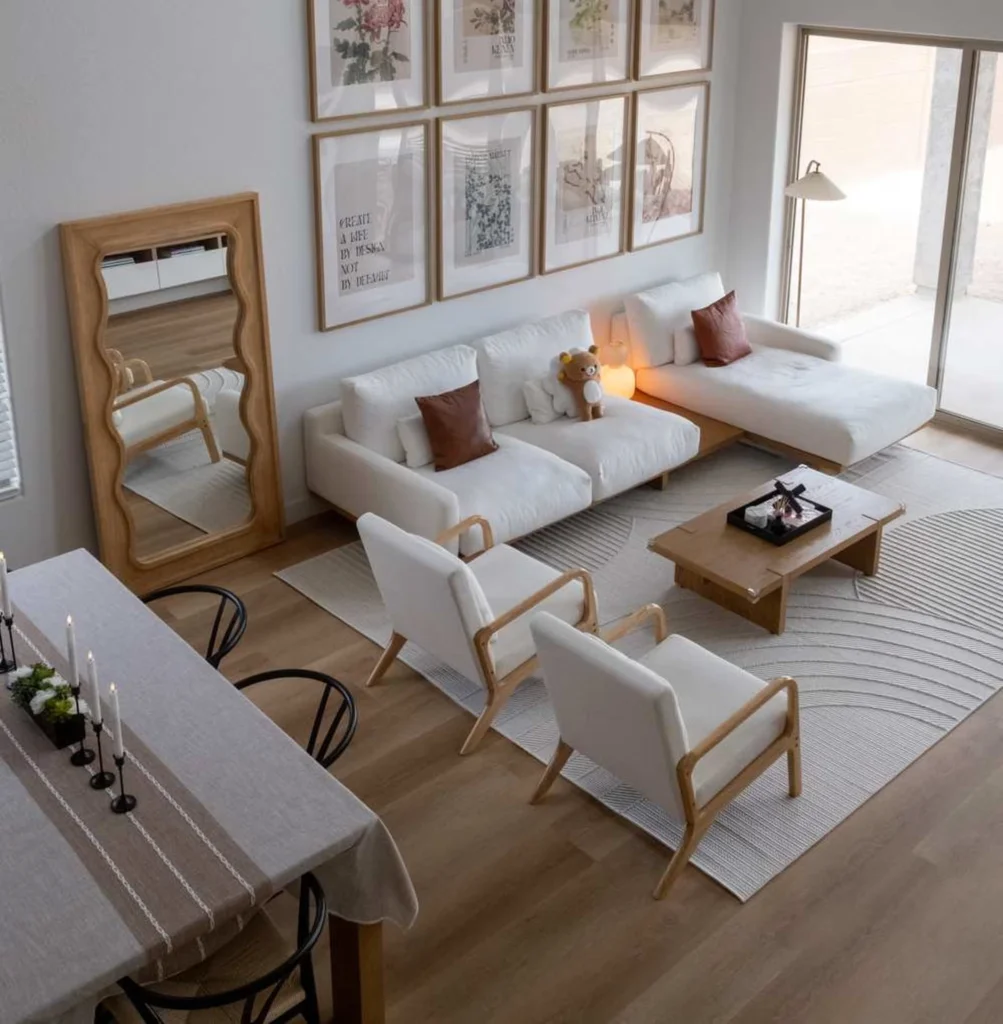
For the room you’ll live in most, usually the family room or main living area, pick your rug first. The rug sets the footprint. A good rule: all the front legs of your future sofa and chairs should sit on the rug, or at minimum, the rug should extend six to twelve inches beyond each side of the sofa. For an average living room, that often means an eight-by-ten or nine-by-twelve rug, not the five-by-seven that looks right online but floats awkwardly under a coffee table. Measure it out with painter’s tape on the floor before you order.
Then tackle the windows. Hang curtain rods high, four to six inches above the window frame, and go floor-length. Even if you’re on a tight budget, IKEA’s heavy cotton drapes hemmed to the right length look far better than skimpy café curtains that stop mid-wall. The collected, layered look that defines 2026 interiors starts with texture, and nothing delivers that faster than a substantial rug and full drapes.
And about fabrics, if you have kids, pets, or a partner who eats spaghetti on the white sofa, performance fabrics are your friend. Crypton, Sunbrella, and InsideOut fabrics run roughly fifty to one hundred fifty dollars per yard, and they look and feel like normal upholstery while being nearly bulletproof. Choose a performance fabric for your main seating now, and you won’t be shopping for a replacement in three years.
Step 5: Select Core Furniture as Standalone Stories, Not Sets
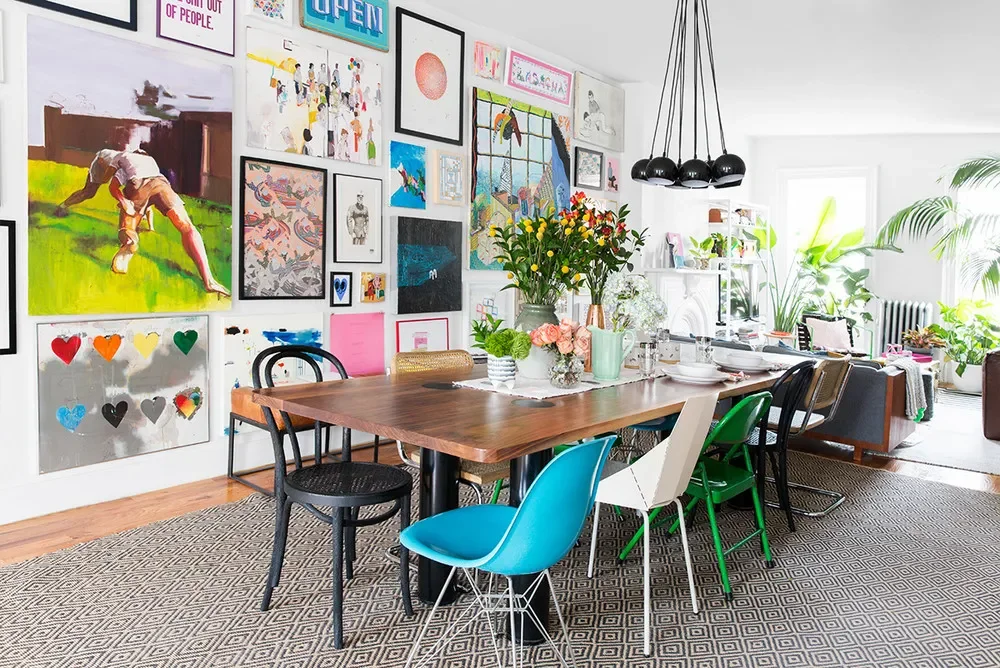
You’re about to make some big purchases, and the biggest mistake people make decorating a new house from scratch right now is walking into a big-box store and ordering a matching bedroom suite or living room collection. It feels safe. It arrives in one delivery. But a room where the bed, nightstands, and dresser all share the same finish and hardware looks like a hotel room from 2015, not a collected home in 2026.
Elle Decor’s 2026 Design Trends issue called this shift “Quiet Luxury 2.0.” The goal is a space that feels gathered over time, mixing vintage, new, and sustainable pieces. You want the eye to land on individual objects with a story, not a block of matching wood grain.
Start with the bed frame, a dining table, and a comfortable sofa. Those are your anchors. Source them one at a time. For the bed, look for solid wood joinery, dovetailed drawers, and a finish that nods to the wood tone you locked in at Step 2. For the dining table, consider a secondhand piece from Facebook Marketplace or a local estate sale. Architectural Digest’s January 2026 feature “The New Rules of Green Decorating” highlighted how leaning into circular design, reclaimed wood, and vintage sourcing is now a mark of a thoughtful home, not a budget compromise.
Then add side pieces that don’t match. A painted nightstand next to that wooden bed. Vintage dining chairs in a different finish around your new table. Reclaimed wood floating shelves, from a local woodworker or West Elm’s sustainably sourced line, around eighty to three hundred dollars per shelf, on a blank kitchen wall. Those shelves add instant warmth and a place to display a few favorite objects, and they keep you far away from the matching-set trap.
Decorating from scratch on a budget doesn’t mean filling the house with cheap particle board. It means being patient, checking resale sites weekly, and recognizing that the imperfect antique dresser with the worn pull adds more soul than a flat-packed copy of something trendy
Step 6: Layer in Personality with Art, Lighting, and Biophilic Tech
Now the bones are in place. The rooms function. But they don’t yet feel like you. This step is about the details that make a house a home.
First, hang your art at the right height. The center of the piece should be around fifty-seven to sixty inches from the floor. That’s eye level for most people. Do not hang a tiny frame high on a wall like a lonely cloud. And do not rush to fill every wall. Nate Berkus told Domino magazine, “Don’t buy everything at once. Live in the space for a few months before you commit to art, side tables, or accent chairs.” I love that. Collect pieces from local markets, online print shops, or even frame a beautiful textile. Wait for the pieces that mean something.
Next, lighting. In 2026, good lighting supports how you actually live. Hardwire circadian-friendly smart lights if you’re still in the electrical phase. If not, retrofit with something like the Philips Hue recessed downlights. A starter kit of four color-ambiance lights runs around two to three hundred dollars. Program them to shift from cool, energy-boosting light in the morning to warm, amber light in the evening. Livingetc’s 2026 Futures Report showed a huge rise in tech that prioritizes wellbeing, and lighting that helps your body clock is the easiest entry point.
Then bring in life. One large, easy-care plant like a rubber tree or a snake plant in a simple pot makes a room feel tended. Add a self-watering planter if you’re forgetful. Group a few plants together in a corner for a small biophilic moment that also improves air quality. It’s not about turning your living room into a greenhouse. It’s about that one corner that catches morning light and makes you breathe a little deeper.
Step 7: Commit to the 6-Month Slow-Decorating Pledge
I want you to make me a promise. For the next six months, you will not buy any decorative accessory, no vase, no throw pillow, no scented candle, just because a corner feels empty. That emptiness is not a problem to solve today. It’s an invitation to live in your house first.
Your new house decorating timeline should stretch. Give yourself the first month just to watch how light moves. Does the afternoon sun blast that one wall where you planned to hang a delicate watercolor? Does the dining area stay dark most of the day, meaning you need a mirror opposite the window, not more art? You learn these things by existing in the space, not by shopping.
Nate Berkus said it perfectly: “Don’t buy everything at once. Live in the space for a few months before you commit to art, side tables, or accent chairs. The best homes evolve.” Write that on a sticky note and put it on your fridge.
A good practice is the one-in, one-out rule. When you do bring home a new accessory, remove something else. It keeps surfaces calm and stops the slow creep of clutter. After six months, you’ll know which wall really needs that mirror and which corner would benefit from a reading chair. The choices you make then will be better, and you’ll spend less money on regret purchases.
A Home Is Never Really Done, and That’s the Point
You just worked through how to decorate a new house from scratch step by step without rushing, without matching sets, and without blowing your budget on things you’d regret. You started with a tape measure and a plan, built a warm foundation with color and texture, scored a quick win in a tiny room, grounded your main space with soft goods, chose furniture that tells a story, layered in personality, and gave yourself permission to let the rest unfold slowly.
The most beautiful homes I’ve ever stepped into were never “finished.” They had blank spots waiting for the right piece. They had walls with nothing on them because the owner hadn’t found the art yet. That restraint is not a lack of decorating skill. It’s confidence.
So celebrate your little powder room. Breathe in that calm corner with your plant and your art. And trust that the rest will come. You’re not behind. You’re building something real, one thoughtful step at a time.
Image Prompt: iPhone photo taken from a doorway looking into a living room, a soft rug layered over wooden floors, a single framed photo propped on a low shelf, a large floor plant in the corner, a window with simple drapes letting in late afternoon light, a small dust visible on the shelf surface, a remote control half-hidden under a cushion edge, casual iPhone photo taken by the homeowner, slightly imperfect framing, real lived-in space, not styled for social media
Stock Image Keywords: personal home corner finished | lived in room real home | home decorating from scratch final | not perfect but home sanctuary | everyday living space natural light